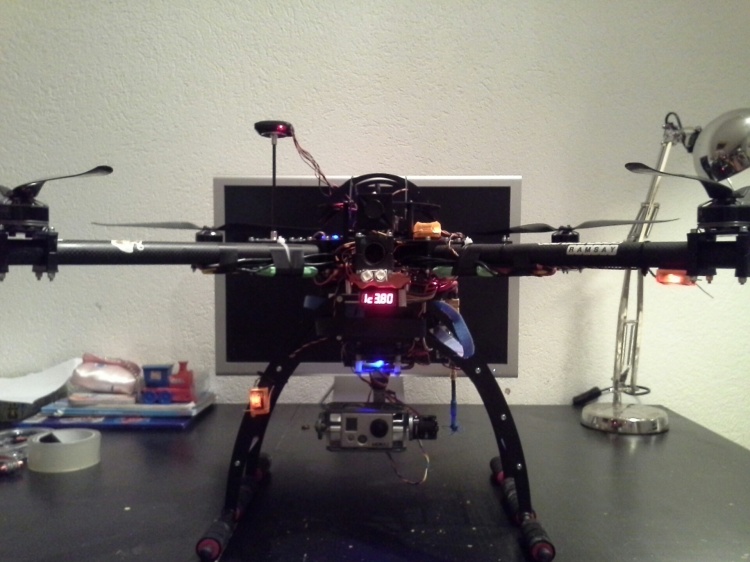
This post describes a arducopter members (Euan Ramasy’s) photographic quadcopter build. It is a great example of how to undertake a quadcopter project and as you gain experience how you can add improvements of your own copter for better performance, so you can eventually use it in a professional capacity.
Goals of quadcopter Upgrade
Well it’s been a year since I built my first quad (selecting APM, naturally), and I’ve decided to do a bit of an upgrade in the off season, as is the tradition. There were four objectives to the exercise:
- better reliability
- simplify
- reduce weight
- improve performance
- Better Reliability
- Added 40A ESC’s, giving me 15A overhead (formally 30A on a 25A max draw)
- replaced 5V BEC with a 5.5V, after getting occasion chirp from spektrum telemetry about low volts.
- replaced 1 motor that sounded less than optimal
- ESC’s now uprated
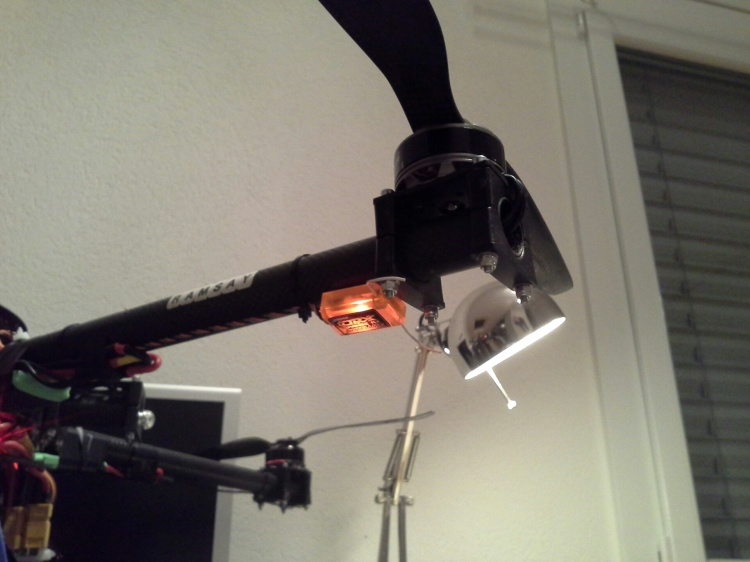
 and moved outboard for cooling and better security
- Simplicity
- Number of battery circuits reduced from 3 to one.
- New 5.5V and 12V BEC’s used
- Unnecessary LED’s dumped.
- Only retained 4 for orientation on the odd occasion I don’t FPV.
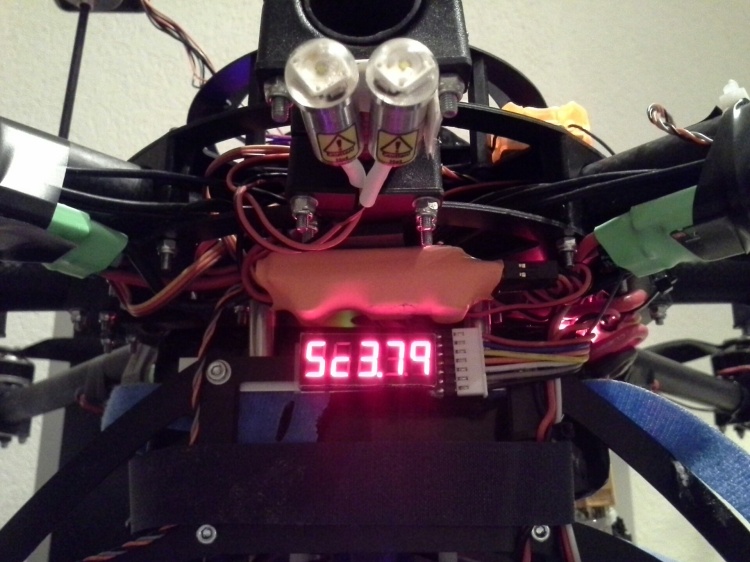
- But they are Braincube’s and are very bright!, I also labeled
everything.
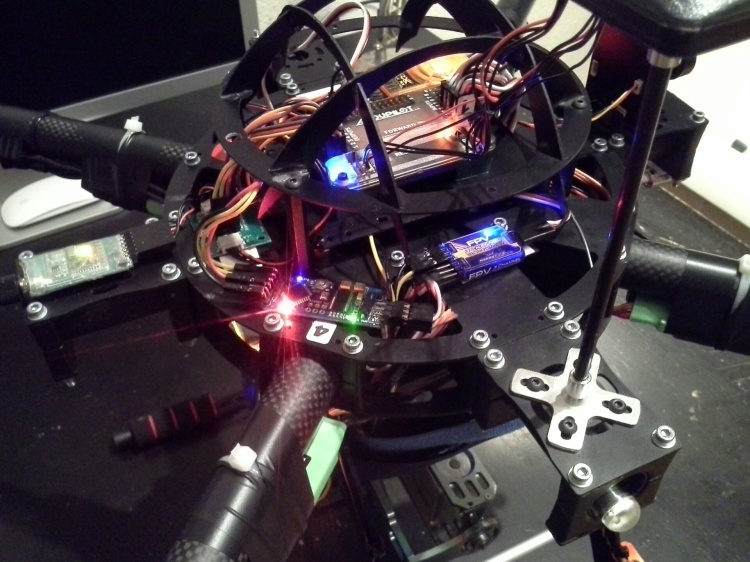
Here is the a photo of the controller:
- Reduce Weight
- Reduced battery circuits from 3 to 1.
- EzOSD replaced with minimOSD.
- Also in picture below : an FPV camera switcher and the Telemetry junction box.
- LED circuits dumped
- Spektrum telemetry TM1000 dumped
- GPS finder dumped
- Leg components replaced with Carbon Fibre
Did it work?, the starting weight was 3.65kg, and now its 2.62Kg, but I did add a new and improved brushless gimbal. If I keps the old brushless gimbal (refused to tune with Martinez board!) I would of saved over 200g!
- Performance
- Moongel replaced with zeal. Unfortunately vibes actually went up! I now hit the +/-5 “safe” limits in high power flight and maneuvers. However, it does seem to respond to very small commands much better. The zeal is firmer than moongel so I might expect that.
- PID’s retuned after 3.0.1, to increase YAW control, and to decrease pitch/roll (only by 7%) to improve video footage. It still handles well, but it’s now more “Transit” than “Cosworth” . For our american cousins, this translates to: “it’s more light truck than corvette”).
- 6S Current sensor added. Means that Compassmot can now be run in CURRENT not THROTTLE. And Flight is noticeably more accurate, especially in RTL, Loiter.
- Higher GPS pole added (Compassmot reduced from 4% to 1%.)
Other Improvements
1. Receiver with 2 satellites
- Radio diversity added via Orangerx 800 (DSMX) + 2 satellites.
- Each satellite has a 30cm cable, one mounted far out under one arm, one as far down on the leg as possible.
- It’s not perfect, but better than before. Radio now much more
reliable regardless of orientation. No more scary moments.
2. FPV Transmitter Improvements
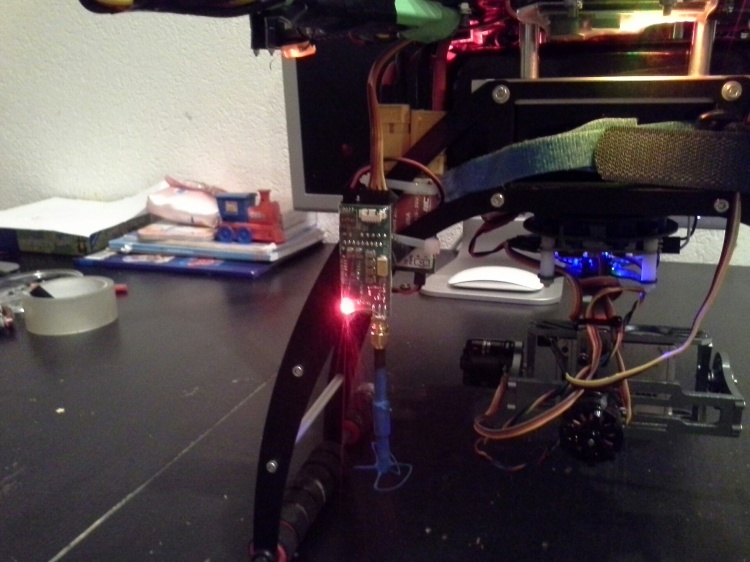
- Video TX moved to as far down the legs as possible.
- Range has improved from 350m to well over 600 with 600mw tx + ibcrazy omni’s.
3. FPV Camera Improvements
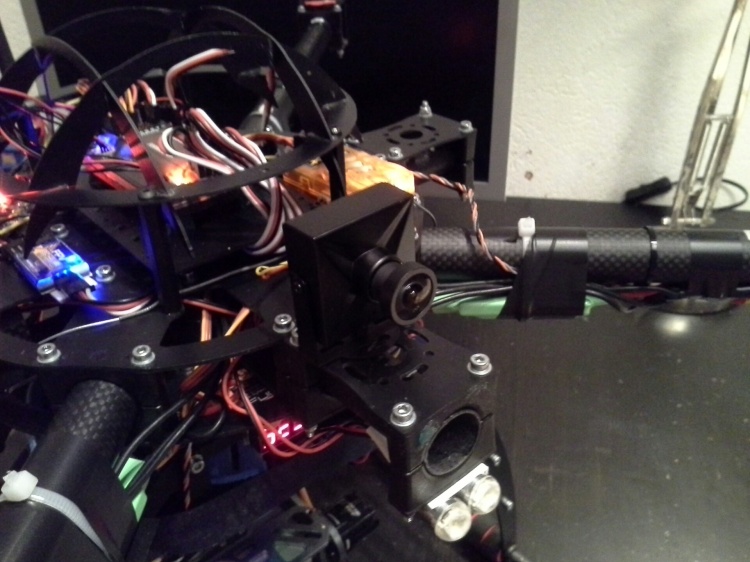
- Finally, I dumped the 420 line FPV camera, and went with the 650 line from Security Camera 2000.
- I also got some new low light lenses.
Summary
Euan’s photographic QuadCopter worked well with a brushless gimbal and had decent FPV capability, but since using it he has made several improvements as mentioned detailed above, the key points are:
- The camera mount has been replaced with better gimbals, bearings and mounting plate.
- FPV now has a better higher resolution camera with better lenses and the FPV range has been extended.
- RC range has been extended with satellite receivers.
- Reliability has been further enhanced by numerous upgrades.
- And the copter has been simplified by removing unnecessary devices, which also improves the flight time.
Overall this post should give you some ideas about how you can constantly build on and improve your quadcopter that can be used in a professional capacity if you want.
