The STROBON NEO is a great RGB LED controller designed specifically for the RC hobby. The video below shows the STROBON NEO in action
Connecting the LED Strips to NEO
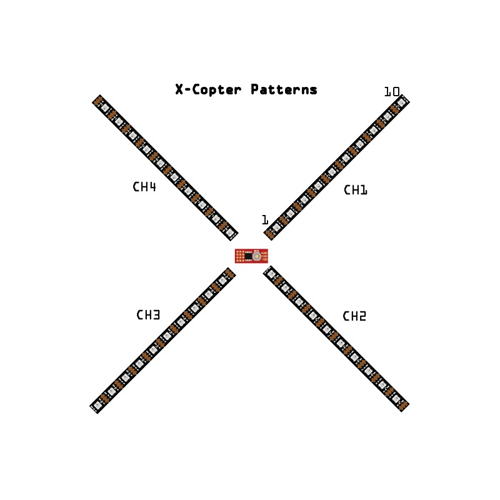
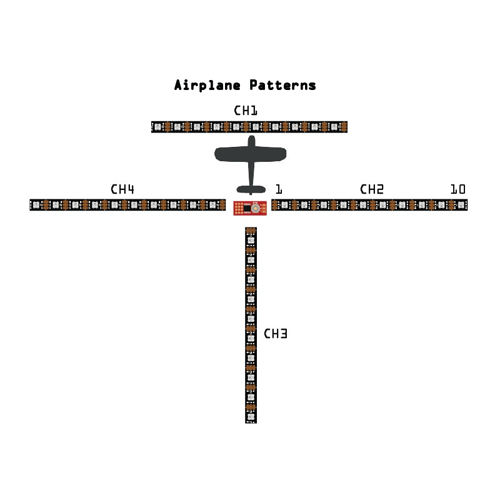
The images below show you what channels to plug the LED strips into your NEO controller for an aircraft or multicopter.
Powering your STORBON NEO LED Lights
You can power your NEO directly from your receiver as shown below:
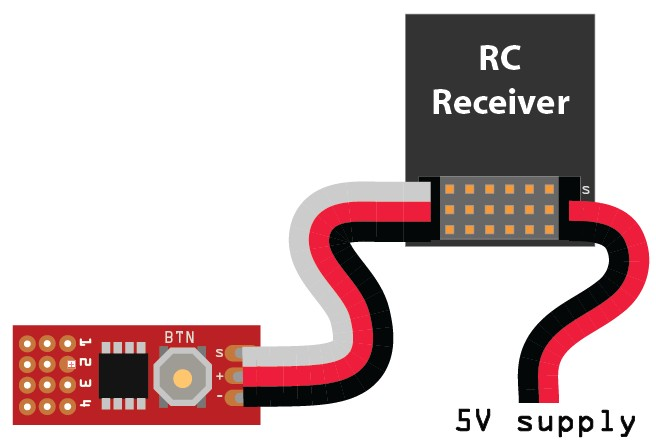
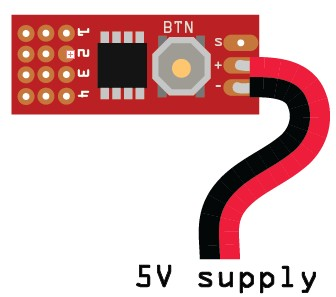
or you can power it externally from an external 5V supply if you dont have any spare channels on your receiver.
Operation Modes of STROBON Neo
*This option was added into the firmware after 1 April 2015. Older versions have only one mode (Mode-1)
Strobon Neo controllers shows the active mode on the startup sequence with RED and GREEN colors.
The startup sequence takes 1 seconds then the stripes turn to last selected pattern and power level.
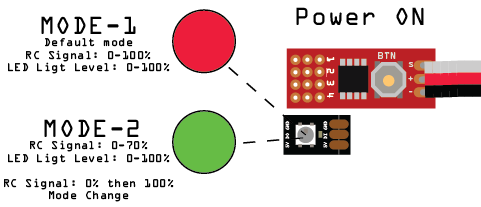
- Mode 1: It is default mode of the NEO and the connected transmitter channel is responsible from LED stripe brightness in this mode. You can use any 2-3 position switch channel or potentiometer to control brightness and OFF.
- Mode 2: The connected transmitter channel is responsible for LED stripe brightness and Patterns in this mode. You can use any 3 position switch channel or potentiometer to control all features of the NEO.
This mode is a little bit tricky because of single dedicated channel. 0-70% servo position (from full left to half of right) data controls the LED brightness. But If you send %100 (full right) position, The NEO switches to the next pattern. 3 position transmitter switched the best for this mode.
- Switch Position 0: Stripe will be OFF
- Switch Position 1: Stripe will be ON (use trim settings to set LED brightness)
- Switch Position 2: Next pattern (Pos. 0 then Pos.2 again for another)
Changing the Modes
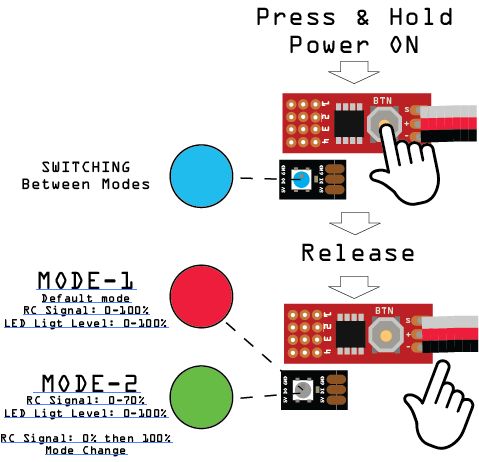
If you want to switch between Mode 1 and Mode 2, Just press and hold the button before power on.
After power on, the stripes will turn to BLUE, then release the button. The controller will show you the selected mode color (Mode 1: RED, Mode 2:Green) at the startup.
