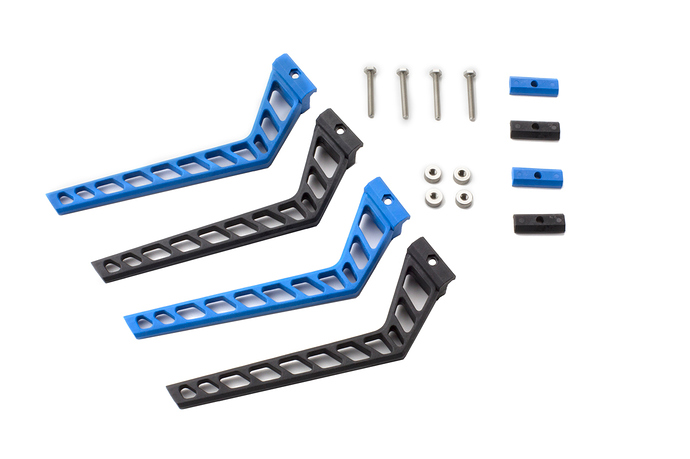
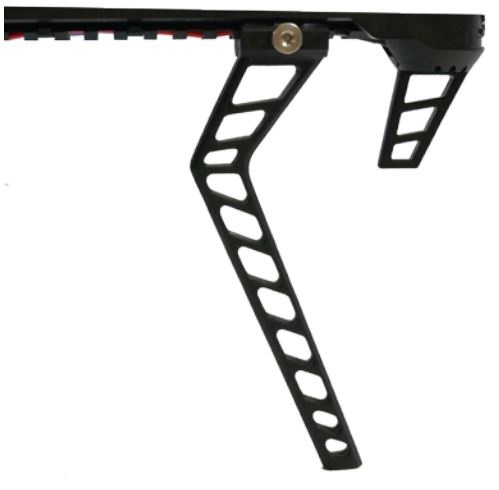
Many weeks ago I posted about some DIY leg mounts, but I am happy to say we now have some proper IRIS Legs. When you buy your IRIS tall legs set, you will receive 4 legs (two black and two blue) along with the requires hardware to secure them. The long legs allow you to mount a camera gimbal or other payload underneath your IRIS. They are very easy to attach to your IRIS quadcopter.
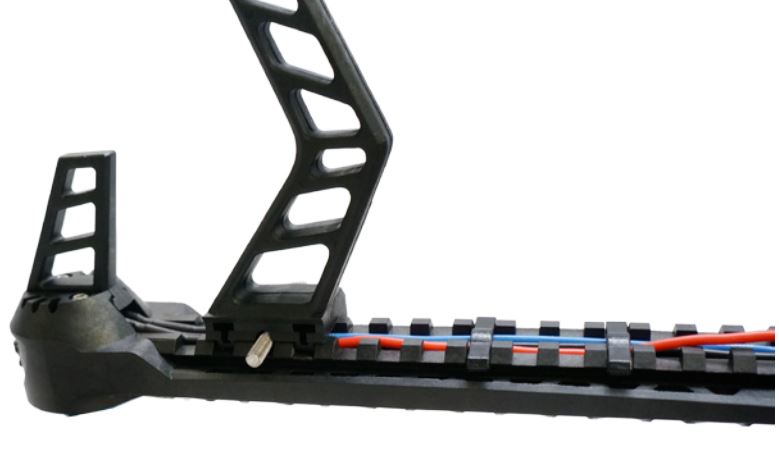
You simply need to attach the two black legs to IRIS’ black arms and the two blue legs to IRIS’ blue arms. To do this turn IRIS upside down, and set the leg into the notches on the bottom of the arm. Orient the leg near the motor and with the point in the leg facing towards the body of IRIS as shown below. You will also need to loosen the thumb nut so the plastic clip of the arm has been removed as in the image below.
Now you just need to must add the clip back onto the bolt as shown below.
http://s30.postimg.org/a9xevv0ow/IRIS_Leg2.jpg
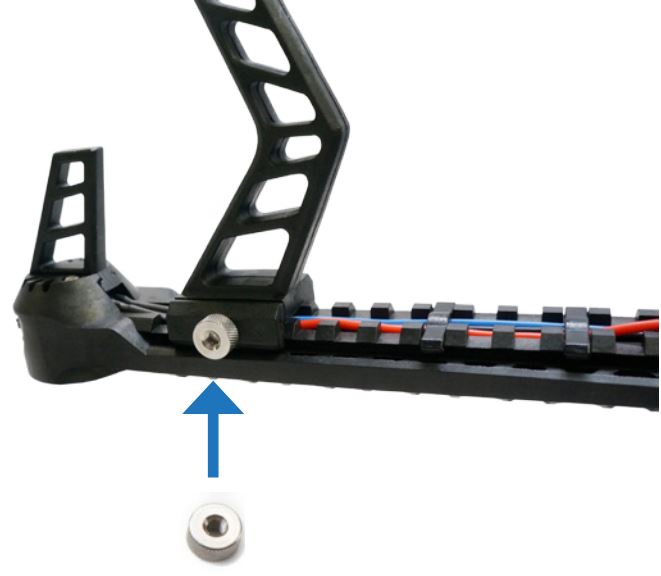
Once the plastic clip has been attached to the bold, you just need to secure it with the thumb nut as shown.
Thats it, you just need to repeat this for the other 3 arms!
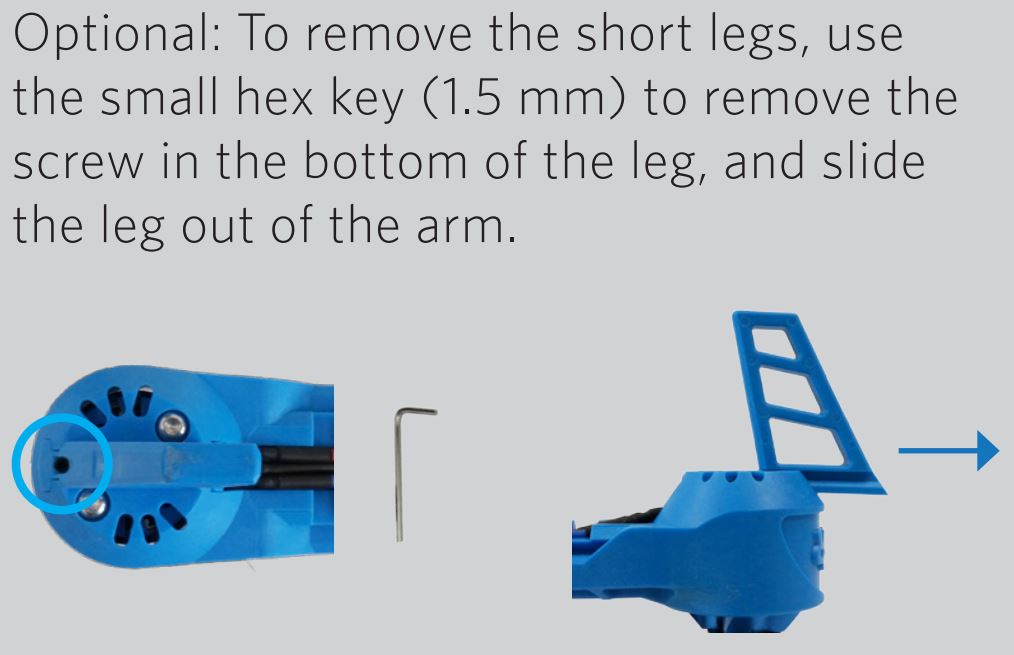
Also if you want to remove the other small legs you can, you just need to loosen the small grub screw and slide it out.
